> ## Documentation Index
> Fetch the complete documentation index at: https://docs.resolve.ai/llms.txt
> Use this file to discover all available pages before exploring further.
# Elasticsearch
The Elasticsearch Cloud integration can be configured via Elastic's and Resolve's UIs.
**Self-Hosted Elasticsearch?** If you're running Elasticsearch in your own infrastructure, you'll need to use the [Resolve Satellite](/resolve-satellite). See the [Elasticsearch On-Prem](/elasticsearch-on-prem) setup guide for instructions.
## Create a Service Account Token
To access your Elasticsearch environment a service account token is needed. If you don’t already have a service account, please create one: [How to create a service account](https://www.elastic.co/guide/en/elasticsearch/reference/current/service-accounts.html).
Once you have a Service Account to use, you can create an API Key with **read-only** permissions.
1. In the Elastic UI, open **Stack Management > API Keys**
2. Click on **Create API Key**
3. Enter a **Name** for your key, ex. `resolve-api-access`
4. In the **Control security privileges** section, add this block for permissions:
```json Permissions theme={null}
{
"resolveai-role": {
"cluster": [
"cluster:monitor/main",
"cluster:monitor/stats",
"cluster:monitor/state"
],
"indices": [
{
"names": ["*"],
"privileges": ["read", "view_index_metadata", "monitor"]
}
]
}
}
```
Official Documentation: [Access and Authentication](https://www.elastic.co/guide/en/cloud/current/ec-api-authentication.html)
Run the following command. Please ensure that you replace the following properties:
* **ELASTIC\_PASSWORD:** This is the password of the *elastic* user.
* **ELASTIC\_HOSTNAME:** This is the FQDN of the Elastic endpoint.
```shell theme={null}
curl -k -X PUT --user [elastic:ELASTIC_PASSWORD] \
--header "Content-Type: application/json" https://[ELASTIC_HOSTNAME]:9200/_security/api_key
-d '{"name":"resolve-ai-api-access"}
```
The response will include the **encoded token**. Please copy it.
```json Response theme={null}
{
"id":"********",
"name":"resolve-ai-api-access",
"api_key":"********",
"encoded":"SkpDbUJaVXXXXXXXXXXXX***************" // This is your token
}
```
**Note**: You must copy the encoded token. You will not be able to retrieve it after creation. Store this token in a secure manner, and do not check into source code. This token will be used in your ResolveAI configuration.
## Configure the Elasticsearch Cloud Integration in the UI
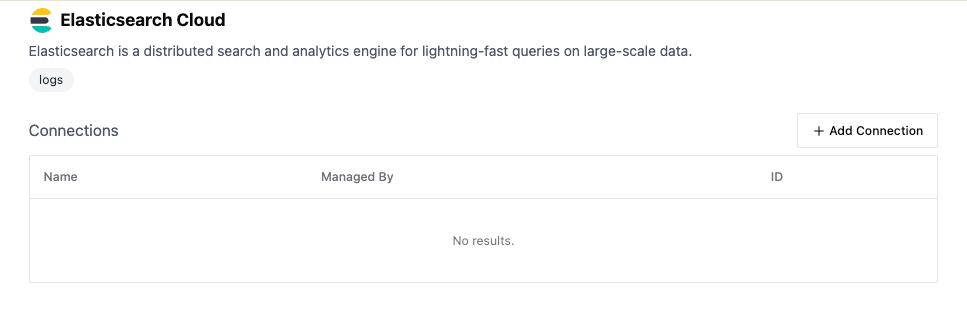
Login to [https://app0.resolve.ai/](https://app0.resolve.ai/). Go to the integrations page and and select “Elasticsearch Cloud”
Click on “Add Connection”. Add a name for the integration and fill in the configuration details. The required field are:
* **Url:** The endpoint to your Elasticsearch instance (including the port number).
* **Token:** The API Key that was generated in the previous step.