> ## Documentation Index
> Fetch the complete documentation index at: https://docs.resolve.ai/llms.txt
> Use this file to discover all available pages before exploring further.
# Grafana On-Prem
With ResolveAI's Grafana integration, you don’t need to maintain separate integrations for each data source like Loki, Prometheus, or Tempo. Once Grafana is connected, all its data sources are seamlessly integrated.
**Prerequisite**: The [Resolve Satellite](/resolve-satellite) should be installed in your environment.
## Create a Service Account Token
To access your Grafana environment a service account token is needed. If you don’t already have a service account, please create one: [How to create a service account](https://grafana.com/docs/grafana/latest/administration/service-accounts/#create-a-service-account-in-grafana).
There are two options for creating your service account token.
Official documentation: [How to add a token to a service account in Grafana](https://grafana.com/docs/grafana/latest/administration/service-accounts/#add-a-token-to-a-service-account-in-grafana)
If you are running Grafana Enterprise, for some endpoints you might need to have specific permissions. Refer to [Role-based access control permissions documentation](https://grafana.com/docs/grafana/latest/administration/roles-and-permissions/access-control/custom-role-actions-scopes/) for more information. For Grafana Cloud instances, you can use a Bearer token to authenticate.
#### **Create a Service Account through the API**
Official documentation: [How to create to Grafana service account via API](https://grafana.com/docs/grafana/latest/developers/http_api/serviceaccount/#create-service-account)
Run the following command. Please ensure that you replace the following properties:
* **grafana-instance:** This is your Grafana endpoint.
* **auth-api-key:** This is your authorization token for accessing the API (if applicable).
```shell create service account api theme={null}
curl -X POST http:///api/serviceaccounts \
-H "Content-Type: application/json" \
-H "Authorization: Bearer " \
-d '{"name":"resolve-service-account", "role":"Viewer",
"isDisabled": false}'
```
The response will include the new Service Account Id. Please take a note of it.
```json create service account api response theme={null}
{ "id": 1, "name": "resolve-service-account", "isDisabled": false, .... }
```
#### **Create a token for your Service Account via the API**
Official documentation: [How to create to Grafana service account token via API](https://grafana.com/docs/grafana/latest/developers/http_api/serviceaccount/#create-service-account-tokens)
Run the following command. Please ensure that you replace the following properties:
* **grafana-instance:** This is your Grafana endpoint.
* **id**: This is your service account id for which a token will be created.
* **auth-api-key:** This is your authorization token for accessing the API (if applicable).
```shell theme={null}
curl -X POST http:///api/serviceaccounts//tokens \
-H "Content-Type: application/json" \
-H "Authorization: Bearer " \
-d '{"name":"resolve-access-key", "role":"Viewer"}'
```
The response will include the new API key. Securely store this key immediately, as it won't be displayed again.
```json token creation api response theme={null}
{"id":1,"name":"resolve-access-key","key":"eyJrIj**********************"}
```
## Configure the Grafana Integration in Resolve Satellite
Below is an example of how to setup the Grafana integration in the satellite with the url property as well as using the k8s secret (potentially backed by an AWS secret manager or another mechanism) for authentication. The secret format in this example is for a Grafana Service Account token.
Create a Kubernetes secret of the following form. Note that the structure of the secret is important and for a Service Account token for Grafana integration, it must have the top-level key token: ‘token-value’.
```yaml secret creation theme={null}
apiVersion: v1
kind: Secret
type: Opaque
metadata:
name: grafana-resolve-access-token
stringData:
token: ""
```
**Security Best Practice:** Never store credentials in plaintext in configuration files or source control.
Always use Kubernetes secrets and encrypt etcd or use enterprise secret management systems.
See [Secret Management](/secret-management) for detailed guidance.
To apply the secret run
```shell apply secret theme={null}
kubectl apply -f grafana-resolve-access-token.yml
```
Update your helm values override file with the following information (e.g.: *resolve-values.yaml*)
```yaml resolve-values.yaml theme={null}
integrations:
grafanaIntegration:
type: grafana
create: true
secretName: "grafana-resolve-access-token"
connection:
useGrafanaProxy: true
url: ""
linksDomainOverride: "" #(Optional) Use this if you want ResolveAI to reference a separate Grafana URL for external links in investigations
```
Install the satellite and apply the values from the yaml file that you have just updated. e.g.: *resolve-values.yaml.* To find the latest version, visit ResolveAI's docker hub repository for the [helm chart](https://hub.docker.com/r/resolveaihq/satellite-chart/tags) and [satellite image](https://hub.docker.com/r/resolveaihq/satellite/tags).
```shell apply config to satellite and redeploy theme={null}
helm upgrade --install oci://registry-1.docker.io/resolveaihq/satellite-chart --version --values resolve-values.yaml --set image.tag=
```
Once your satellite is deployed, we will automatically create an integration instance for you.
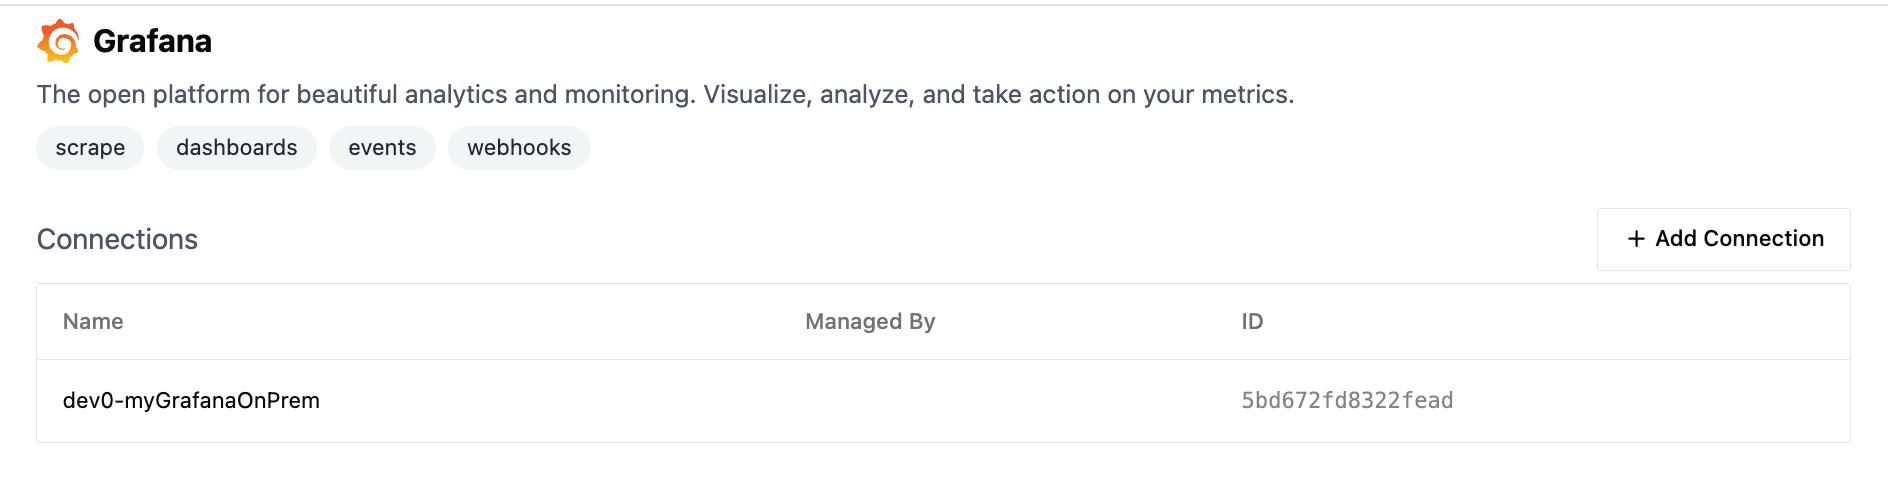
Login to [https://app0.resolve.ai/](https://app0.resolve.ai/). Go to the integrations page and and select “Grafana”
You should see an automatically created integration based on the provided configuration.
## Send alerts to ResolveAI via webhook
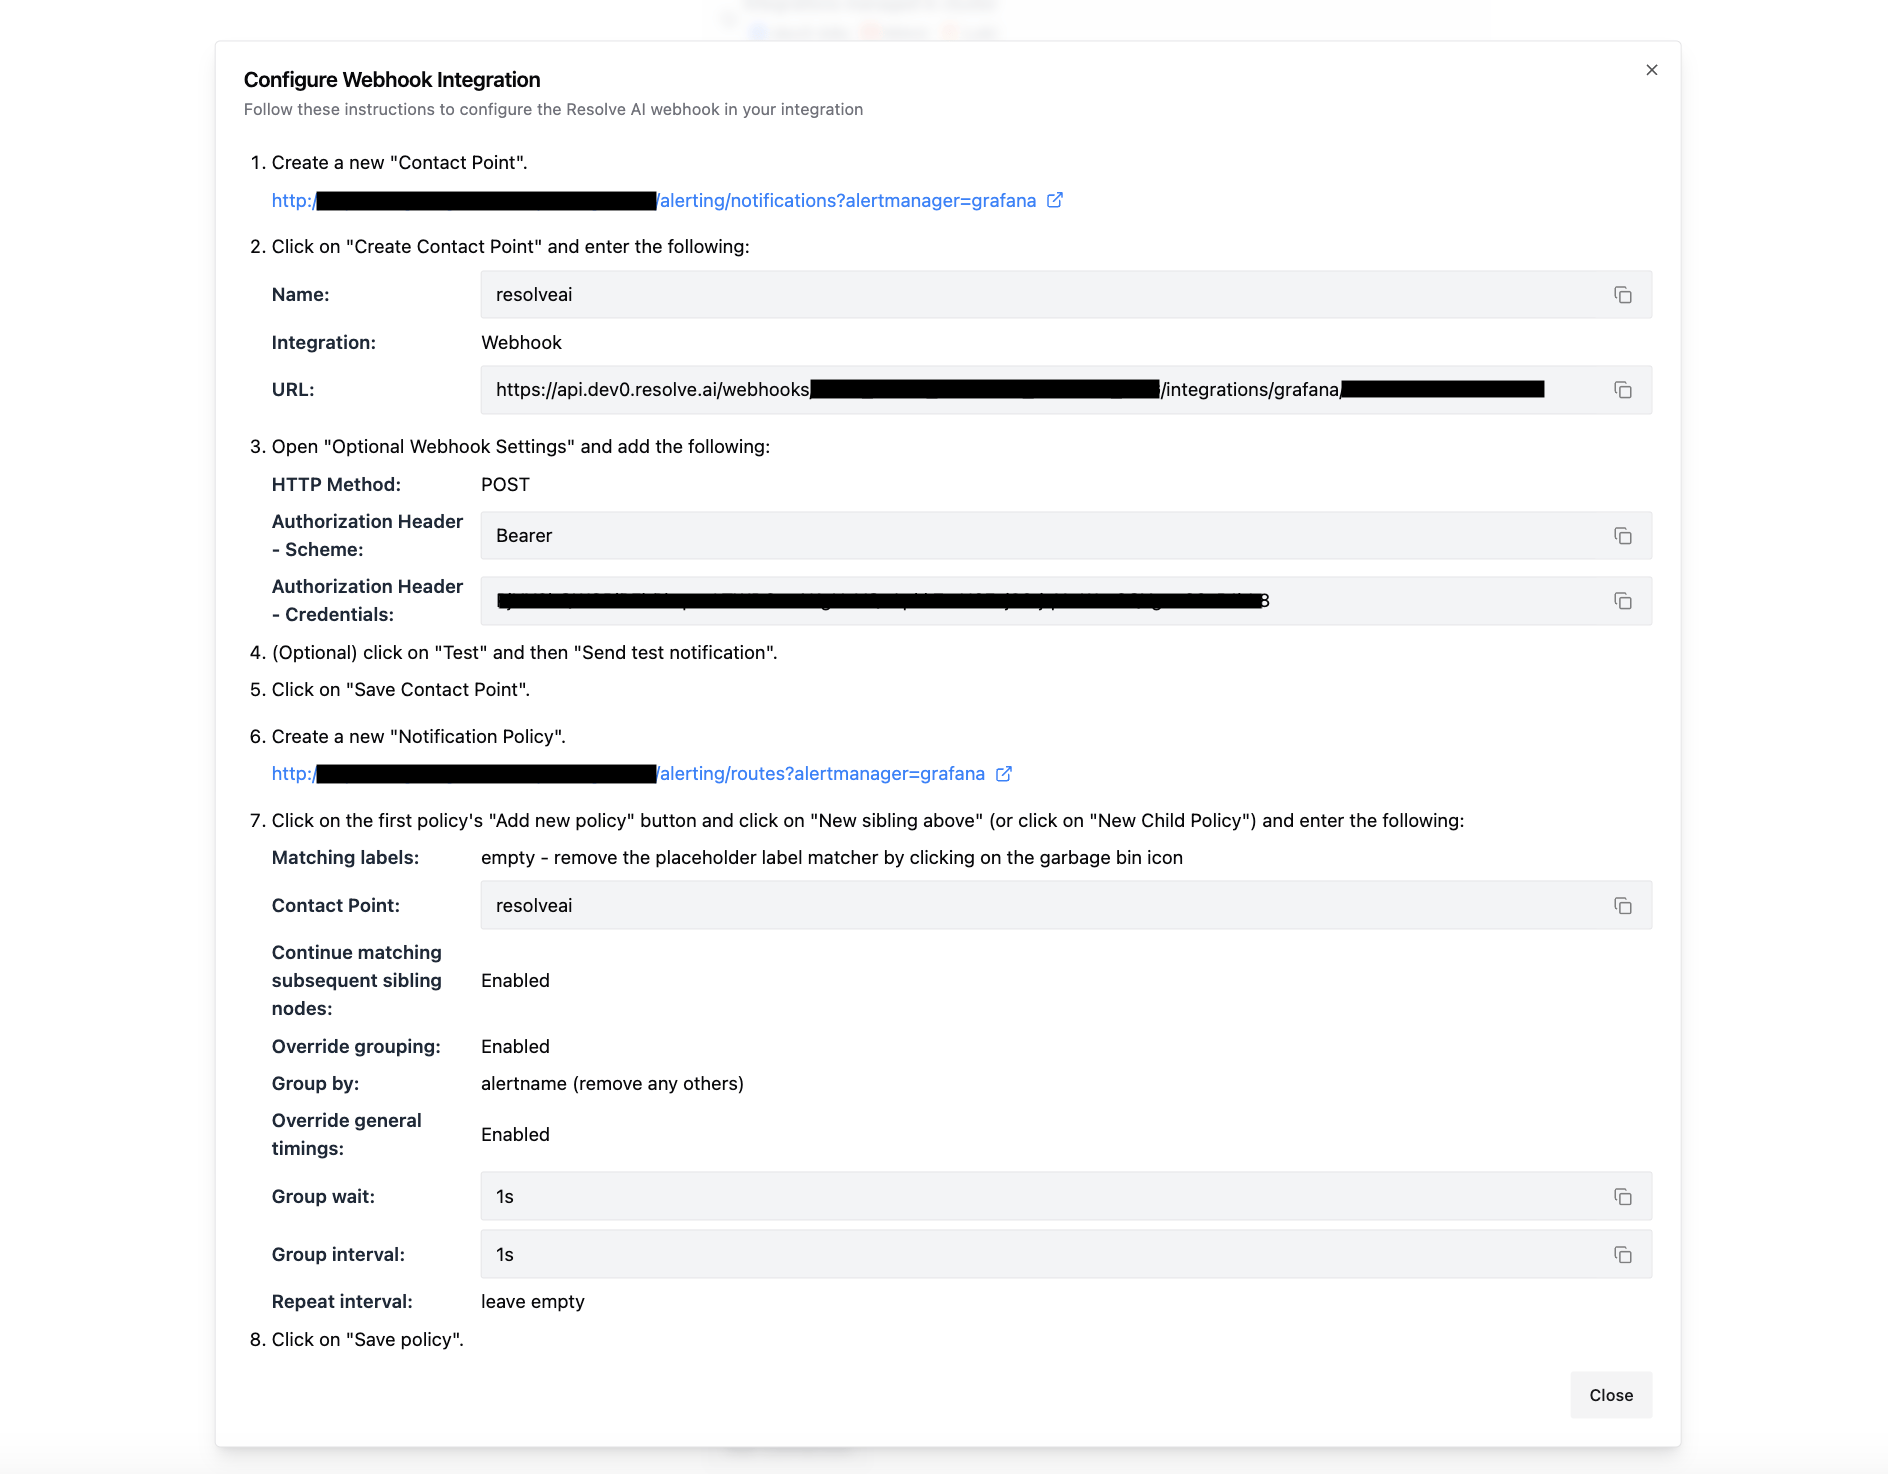
If you use Grafana to manage your alerts, follow the steps to complete the alert integration for your environment.
Note: If you want to integrate directly with specific alerting sources, such as Prometheus AlertManager or Loki, ensure you follow the webhook instructions in each platform’s installation guide.
Go to the Grafana integration you have set up and click into it.
 Scroll down to the **Webhooks** section. Click "Edit".
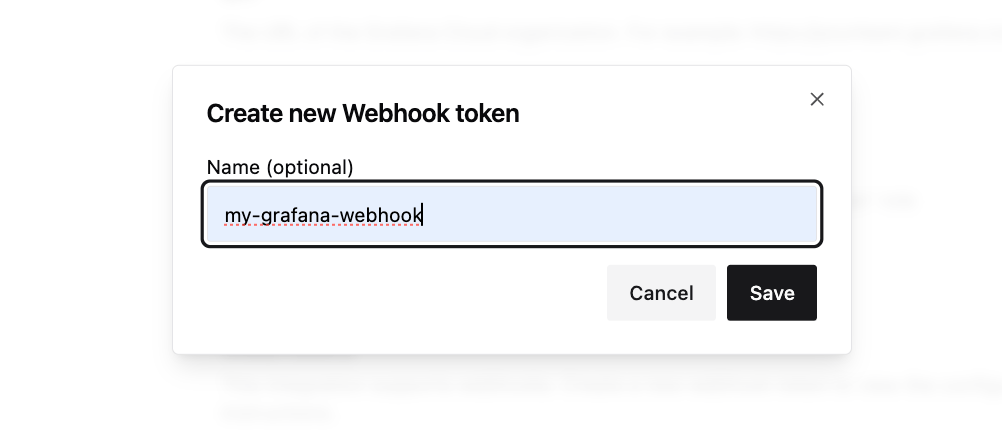
Click on the "+" icon to add a new Webhook token. Click "Save".
Scroll down to the **Webhooks** section. Click "Edit".
Click on the "+" icon to add a new Webhook token. Click "Save".
 Follow the instructions to add a new webhook integration in Grafana Cloud, and create a new **Notification Policy**.