> ## Documentation Index
> Fetch the complete documentation index at: https://docs.resolve.ai/llms.txt
> Use this file to discover all available pages before exploring further.
# Splunk Enterprise
Connect ResolveAI to Splunk to query logs and saved searches during investigations.
**Prerequisite**: First install the [Resolve Satellite](/resolve-satellite) to create the Splunk connection.
### Create Splunk Service Account
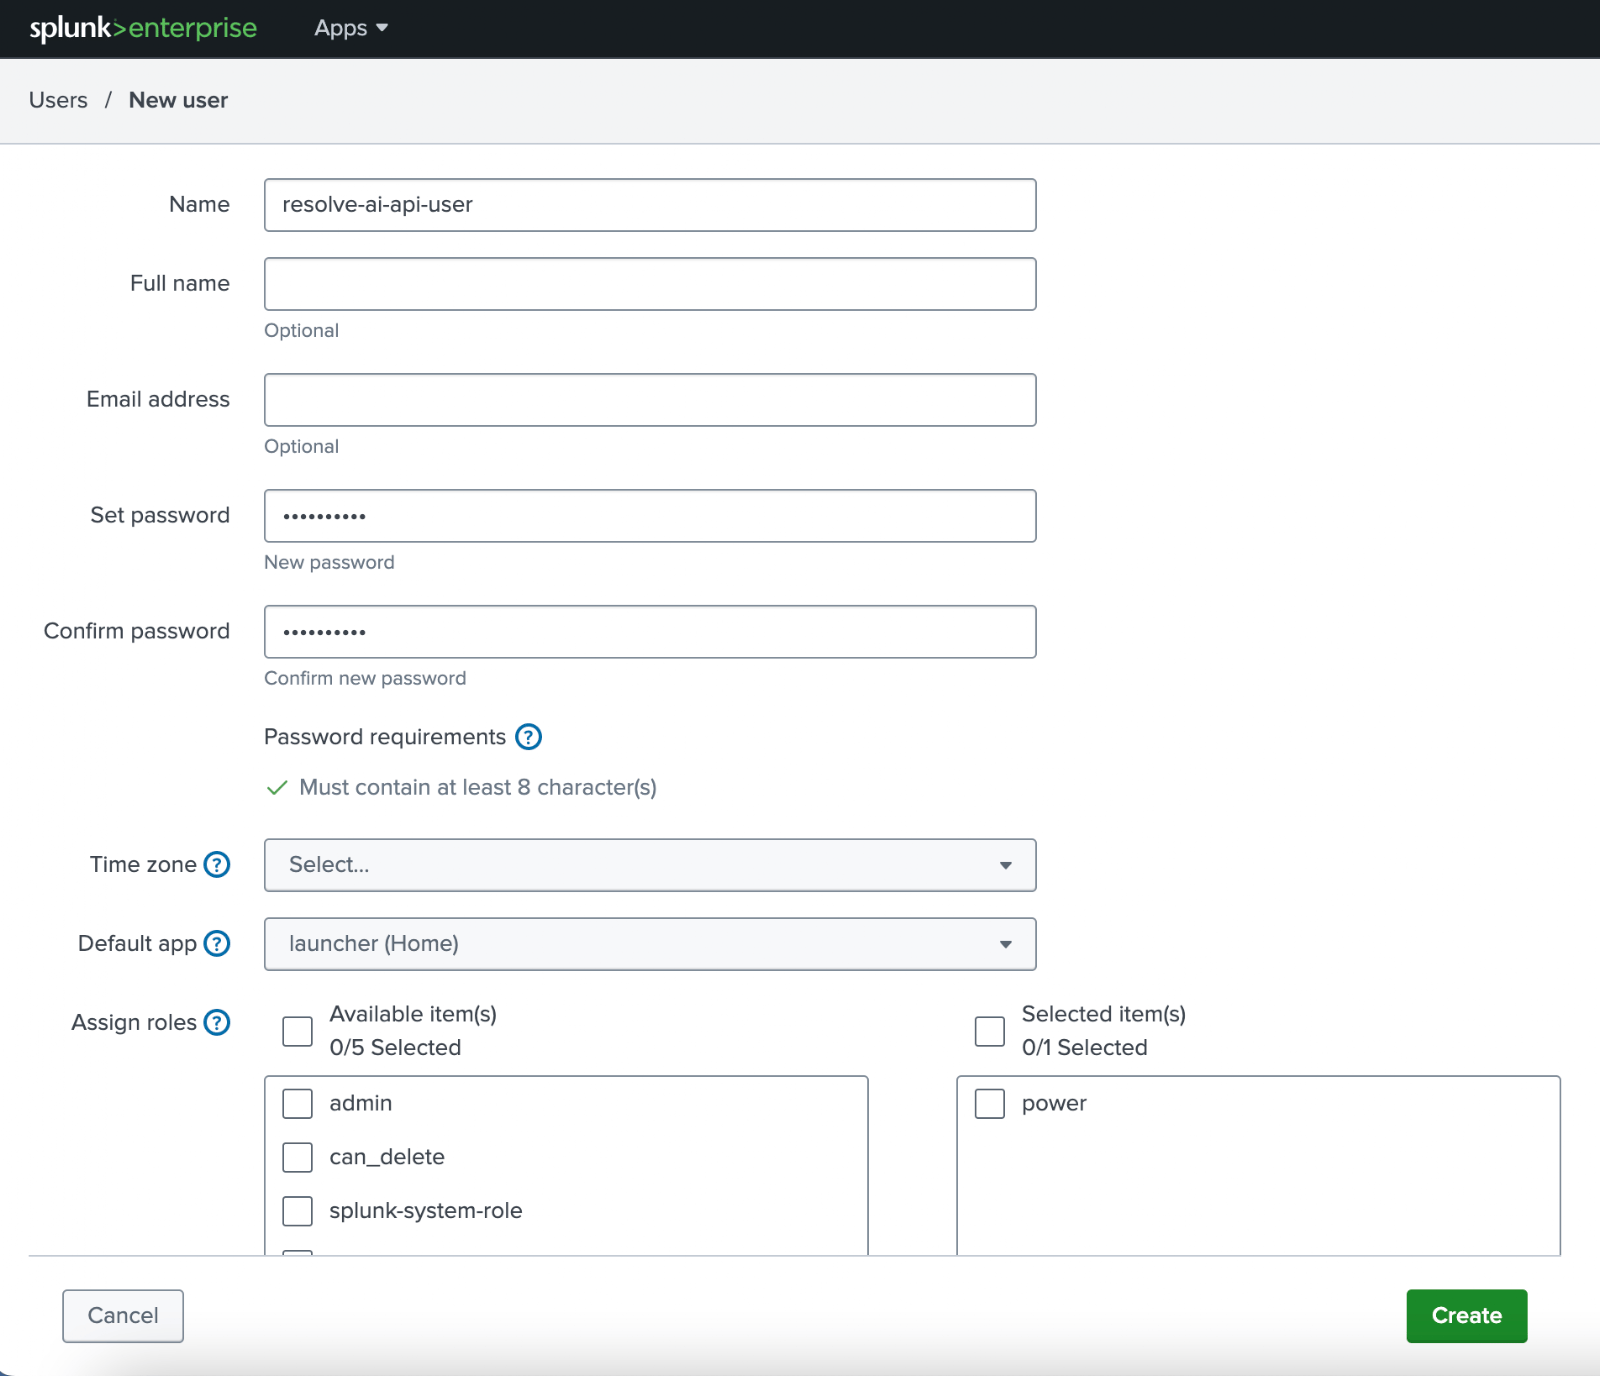
First [Set up a dedicated service account in Splunk](https://docs.splunk.com/Documentation/SIM/current/User/Setupserviceaccount). Create a Service Account User role with "**Power**" Role to provide access to the Splunk REST API endpoint.
Additionally, ensure the role has the **`rest_access_server_endpoints`** capability, which is not included in the Power role by default.
 ### Create Splunk authentication token for REST API access
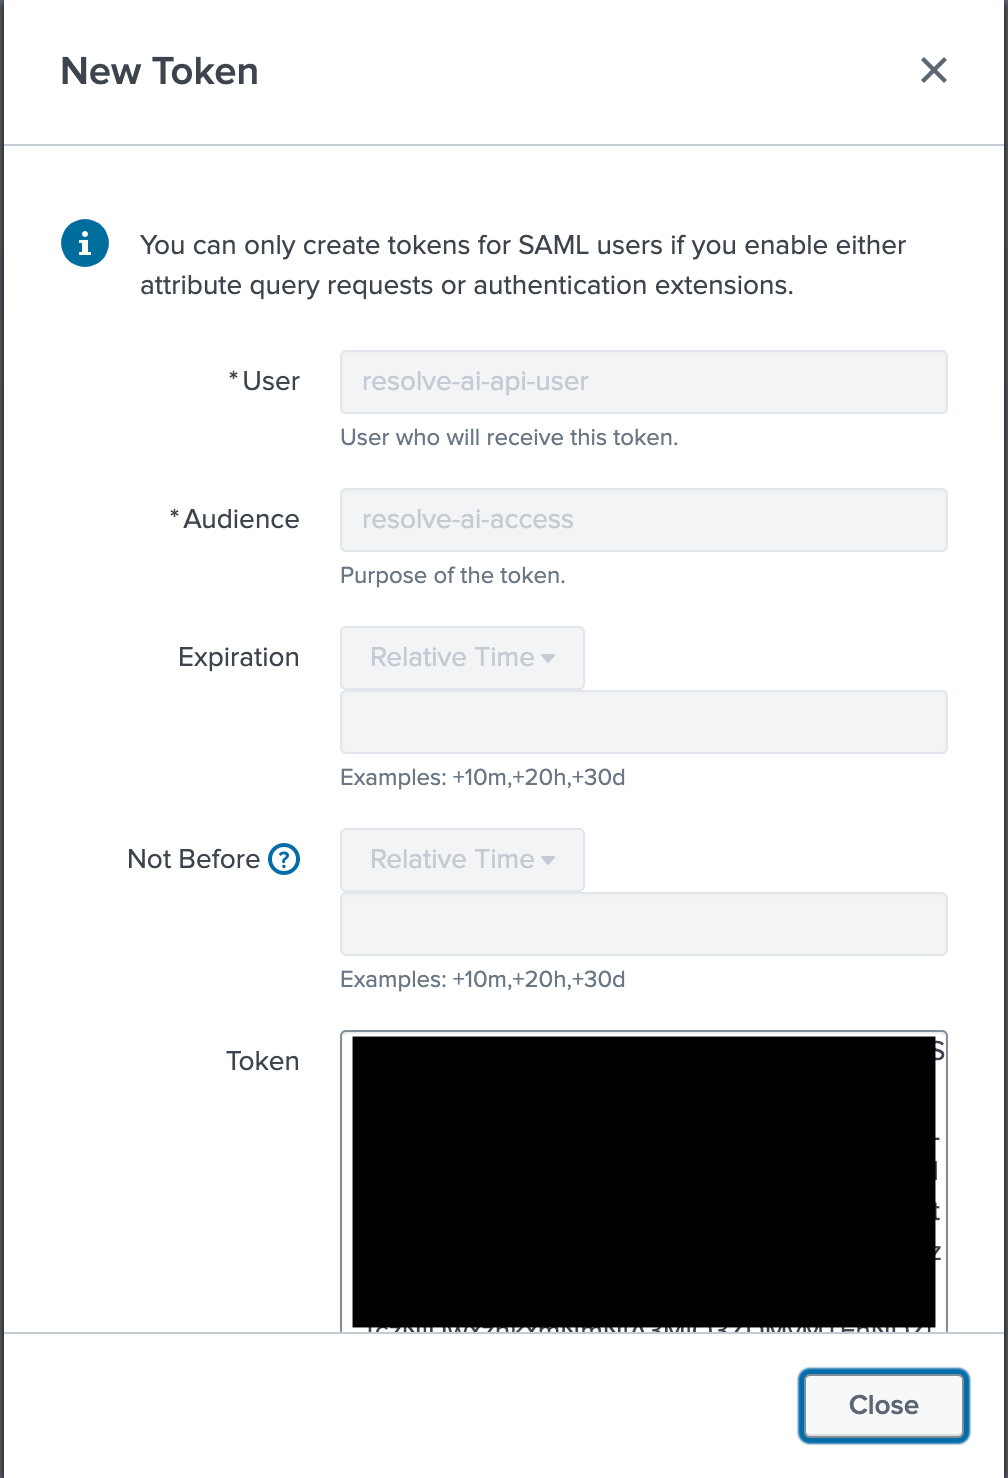
Create REST API endpoint with the Service Account information in the prerequisites. This user will have "**Power**" Role permissions applied to it.
Official Splunk documentation - [Create authentication tokens](https://docs.splunk.com/Documentation/Splunk/9.4.0/Security/CreateAuthTokens)
Input the following information in the required fields.
* In the "**User**" field set the service account user name that you created above.
* In the "**Audience**" field add a specific identifier for the target application (eg resolve-ai-access)
### Create Splunk authentication token for REST API access
Create REST API endpoint with the Service Account information in the prerequisites. This user will have "**Power**" Role permissions applied to it.
Official Splunk documentation - [Create authentication tokens](https://docs.splunk.com/Documentation/Splunk/9.4.0/Security/CreateAuthTokens)
Input the following information in the required fields.
* In the "**User**" field set the service account user name that you created above.
* In the "**Audience**" field add a specific identifier for the target application (eg resolve-ai-access)
 Official Splunk documentation - [Use REST to create authentication tokens](https://docs.splunk.com/Documentation/Splunk/9.4.0/Security/CreateAuthTokens#Example_API_calls_for_creating_tokens)
Run the following command. Please ensure that you replace the following properties:
* **poweruser-name:** This is the username of the service account that was configured.
* **poweruser-password:** This is the password of the service account that was configured.
* **splunk-server**: This is your Splunk endpoint.
```shell create token via API theme={null}
curl -k -u : -X POST https://:8089/services/authorization/tokens?output_mode=json \
--data name=resolve-access-key --data audience=Power
```
***
**Note**: When creating Splunk Authentication Token you must copy the Bearer Token. You will not be able to retrieve it from Splunk after creation. Store this token in a secure manner, and do not check into source code. This token will be used in your ResolveAI configuration.
## Configure the Splunk Integration in the Satellite
Below is an example of how to setup the Splunk integration in the satellite with the url property as well as using the Kubernetes secret (potentially backed by an AWS secret manager or another mechanism) for authentication. The secret format in this example is for a Splunk REST authentication token.
Create a Kubernetes secret of the following form. Note that the structure of the secret is important and for a Splunk authentication token, it must have the top-level key token: ‘token-value’.
```yaml secret creation theme={null}
apiVersion: v1
kind: Secret
type: Opaque
metadata:
name: splunk-resolve-access-token
stringData:
token: ""
```
**Security Best Practice:** Never store credentials in plaintext in configuration files or source control.
Always use Kubernetes secrets and encrypt etcd or use enterprise secret management systems.
See [Secret Management](/secret-management) for detailed guidance.
To apply the secret run
```shell apply secret theme={null}
kubectl apply -f splunk-resolve-access-token.yml
```
Update your helm values override file with the following information (e.g.: *resolve-values.yaml*)
```yaml resolve-values.yaml theme={null}
integrations:
splunkIntegration:
type: splunk
create: true
secretName: "splunk-resolve-access-token"
connection:
url: ""
mandatoryQueryFields: ["index", "splunk_server_group","sourcetype"]
```
**mandatoryQueryFields**: Ensure every query generated by Resolve includes explicit scoping labels, preventing overly broad wildcard searches and ensuring efficient, targeted query execution. The example above includes index, splunk\_server\_group, and sourcetype.
Install the satellite and apply the values from the yaml file that you have just updated. e.g.: *resolve-values.yaml.* To find the latest version, visit ResolveAI's docker hub repository for the [helm chart](https://hub.docker.com/r/resolveaihq/satellite-chart/tags) and [satellite image](https://hub.docker.com/r/resolveaihq/satellite/tags).
```shell apply config to satellite and redeploy theme={null}
helm upgrade --install oci://registry-1.docker.io/resolveaihq/satellite-chart --version --values resolve-values.yaml --set image.tag=
```
Once your satellite is deployed, we will automatically create an integration instance for you.
In ResolveAI, go to the [Splunk Integration Page](https://app0.resolve.ai/integrations/splunk/connect) to validate that the health checks were successful.
## Send alerts to ResolveAI via webhook
If you use create and manage alerts in Splunk, follow the steps to complete the alert integration for your environment.
Go to the Splunk integration you have set up and click into it.
Official Splunk documentation - [Use REST to create authentication tokens](https://docs.splunk.com/Documentation/Splunk/9.4.0/Security/CreateAuthTokens#Example_API_calls_for_creating_tokens)
Run the following command. Please ensure that you replace the following properties:
* **poweruser-name:** This is the username of the service account that was configured.
* **poweruser-password:** This is the password of the service account that was configured.
* **splunk-server**: This is your Splunk endpoint.
```shell create token via API theme={null}
curl -k -u : -X POST https://:8089/services/authorization/tokens?output_mode=json \
--data name=resolve-access-key --data audience=Power
```
***
**Note**: When creating Splunk Authentication Token you must copy the Bearer Token. You will not be able to retrieve it from Splunk after creation. Store this token in a secure manner, and do not check into source code. This token will be used in your ResolveAI configuration.
## Configure the Splunk Integration in the Satellite
Below is an example of how to setup the Splunk integration in the satellite with the url property as well as using the Kubernetes secret (potentially backed by an AWS secret manager or another mechanism) for authentication. The secret format in this example is for a Splunk REST authentication token.
Create a Kubernetes secret of the following form. Note that the structure of the secret is important and for a Splunk authentication token, it must have the top-level key token: ‘token-value’.
```yaml secret creation theme={null}
apiVersion: v1
kind: Secret
type: Opaque
metadata:
name: splunk-resolve-access-token
stringData:
token: ""
```
**Security Best Practice:** Never store credentials in plaintext in configuration files or source control.
Always use Kubernetes secrets and encrypt etcd or use enterprise secret management systems.
See [Secret Management](/secret-management) for detailed guidance.
To apply the secret run
```shell apply secret theme={null}
kubectl apply -f splunk-resolve-access-token.yml
```
Update your helm values override file with the following information (e.g.: *resolve-values.yaml*)
```yaml resolve-values.yaml theme={null}
integrations:
splunkIntegration:
type: splunk
create: true
secretName: "splunk-resolve-access-token"
connection:
url: ""
mandatoryQueryFields: ["index", "splunk_server_group","sourcetype"]
```
**mandatoryQueryFields**: Ensure every query generated by Resolve includes explicit scoping labels, preventing overly broad wildcard searches and ensuring efficient, targeted query execution. The example above includes index, splunk\_server\_group, and sourcetype.
Install the satellite and apply the values from the yaml file that you have just updated. e.g.: *resolve-values.yaml.* To find the latest version, visit ResolveAI's docker hub repository for the [helm chart](https://hub.docker.com/r/resolveaihq/satellite-chart/tags) and [satellite image](https://hub.docker.com/r/resolveaihq/satellite/tags).
```shell apply config to satellite and redeploy theme={null}
helm upgrade --install oci://registry-1.docker.io/resolveaihq/satellite-chart --version --values resolve-values.yaml --set image.tag=
```
Once your satellite is deployed, we will automatically create an integration instance for you.
In ResolveAI, go to the [Splunk Integration Page](https://app0.resolve.ai/integrations/splunk/connect) to validate that the health checks were successful.
## Send alerts to ResolveAI via webhook
If you use create and manage alerts in Splunk, follow the steps to complete the alert integration for your environment.
Go to the Splunk integration you have set up and click into it.
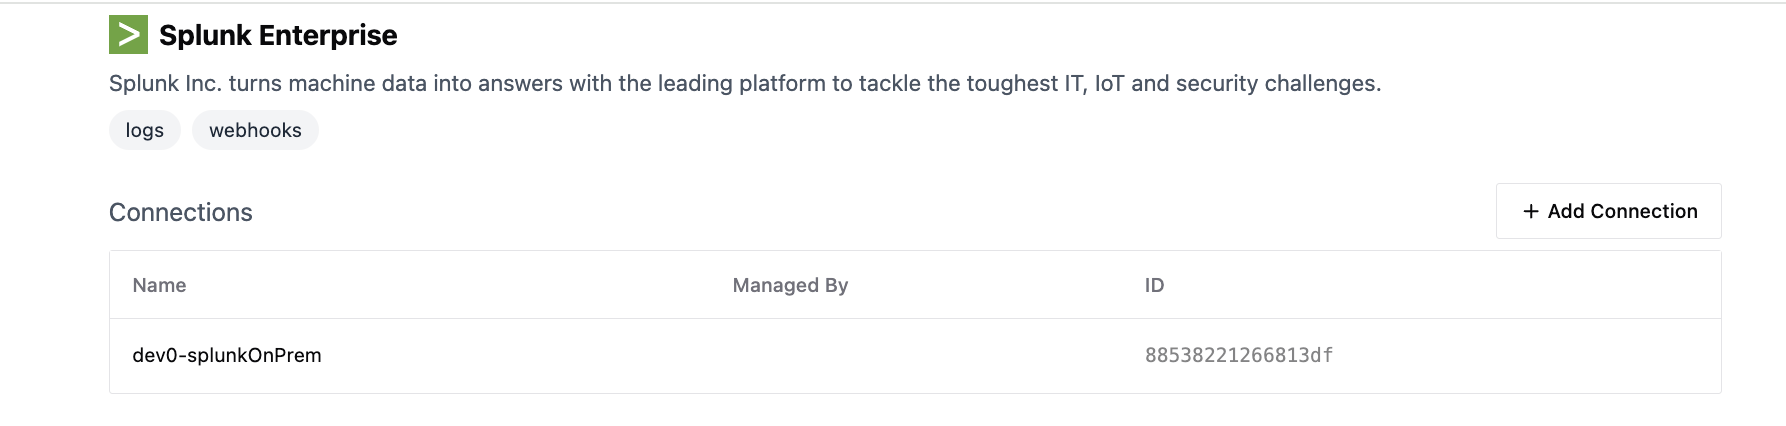 Scroll down to the **Webhooks** section. Click "Edit".
Click on the "+" icon to add a new Webhook token. Click "Save".
Scroll down to the **Webhooks** section. Click "Edit".
Click on the "+" icon to add a new Webhook token. Click "Save".
 Follow the instructions to add a new webhook integration in Splunk.
* Log into your Splunk instance.
* Add the ResolveAI webhook URL to your alert actions.
* You’ll find this webhook URL in your ResolveAI setup instructions.
* In Splunk, navigate to the alert(s) you want to forward and add the URL as a webhook alert action.
* Ensure that the alert(s) you want to forward to ResolveAI have "Sharing" set to "**App**" or "**Global**".
* Allowlist the ResolveAI webhook endpoint.
* Ensure the provided URL is included in Splunk’s webhook allowlist so alerts can be sent successfully.
## (Optional) Obfuscate ResolveAI webhook API and token in Splunk internal logs
As an additional layer of security, mask the ResolveAI URI in the Splunk `_internal` index. The official Splunk documentation can be found here: [Anonymize data in Splunk](https://docs.splunk.com/Documentation/Splunk/9.4.0/Data/Anonymizedata)
Create a `props.conf` file on the Splunk Search heads that will be sending the Splunk Alert to ResolveAI in the /opt/splunk/etc/system/local directory.
Place the following code in that `props.conf` file
```yaml props.conf theme={null}
[source::.../var/log/splunk/splunkd*]
SEDCMD-url = s/https?:\/\/api.app0.resolve.ai\/(.*)/https:\/\/api.app0.resolve.ai\/XXXX-XXXX-XXXX/g
```
Restart **splunkd** process to apply changes in `props.conf`
Option 1: CLI restart
```shell CLI restart theme={null}
/opt/splunk/bin/splunk restart
```
Option 2: GUI restart
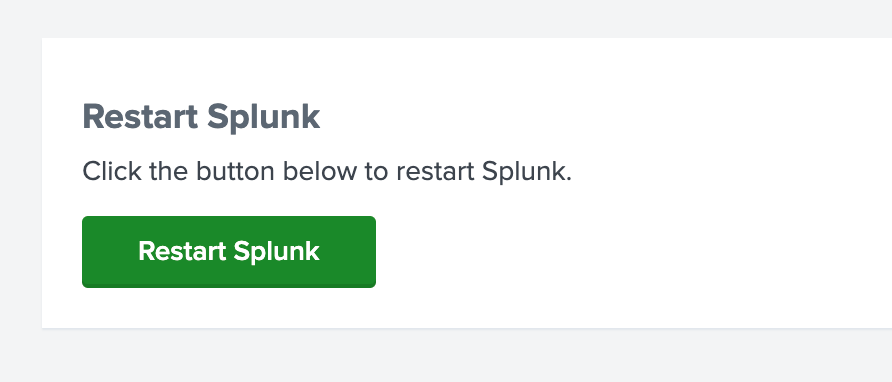
Navigate to Settings > Server Controls > Restart Splunk
Follow the instructions to add a new webhook integration in Splunk.
* Log into your Splunk instance.
* Add the ResolveAI webhook URL to your alert actions.
* You’ll find this webhook URL in your ResolveAI setup instructions.
* In Splunk, navigate to the alert(s) you want to forward and add the URL as a webhook alert action.
* Ensure that the alert(s) you want to forward to ResolveAI have "Sharing" set to "**App**" or "**Global**".
* Allowlist the ResolveAI webhook endpoint.
* Ensure the provided URL is included in Splunk’s webhook allowlist so alerts can be sent successfully.
## (Optional) Obfuscate ResolveAI webhook API and token in Splunk internal logs
As an additional layer of security, mask the ResolveAI URI in the Splunk `_internal` index. The official Splunk documentation can be found here: [Anonymize data in Splunk](https://docs.splunk.com/Documentation/Splunk/9.4.0/Data/Anonymizedata)
Create a `props.conf` file on the Splunk Search heads that will be sending the Splunk Alert to ResolveAI in the /opt/splunk/etc/system/local directory.
Place the following code in that `props.conf` file
```yaml props.conf theme={null}
[source::.../var/log/splunk/splunkd*]
SEDCMD-url = s/https?:\/\/api.app0.resolve.ai\/(.*)/https:\/\/api.app0.resolve.ai\/XXXX-XXXX-XXXX/g
```
Restart **splunkd** process to apply changes in `props.conf`
Option 1: CLI restart
```shell CLI restart theme={null}
/opt/splunk/bin/splunk restart
```
Option 2: GUI restart
Navigate to Settings > Server Controls > Restart Splunk