

Prerequisite: You will need permissions to create integrations in ServiceNow as well as access to your organization’s ResolveAI integration page.
1. In ServiceNow, create the integration
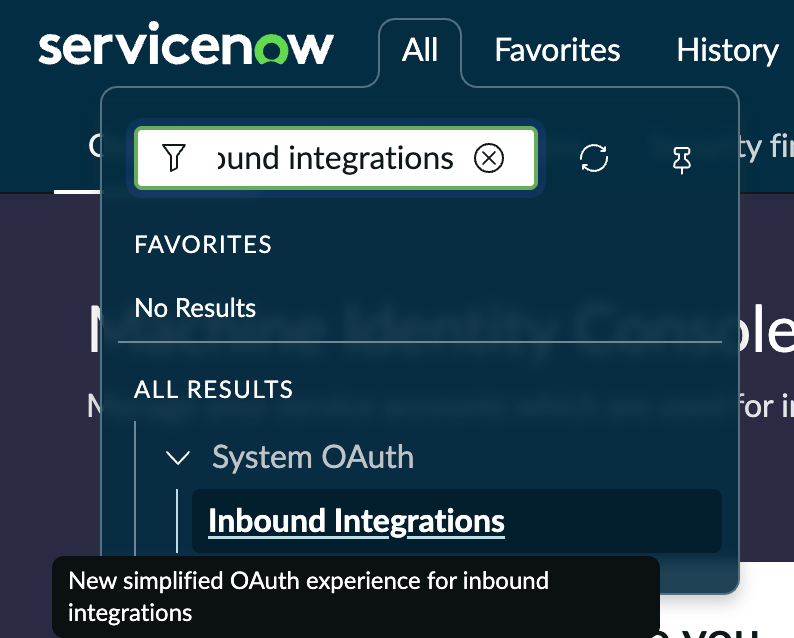
- In ServiceNow UI, open Inbound Integrations
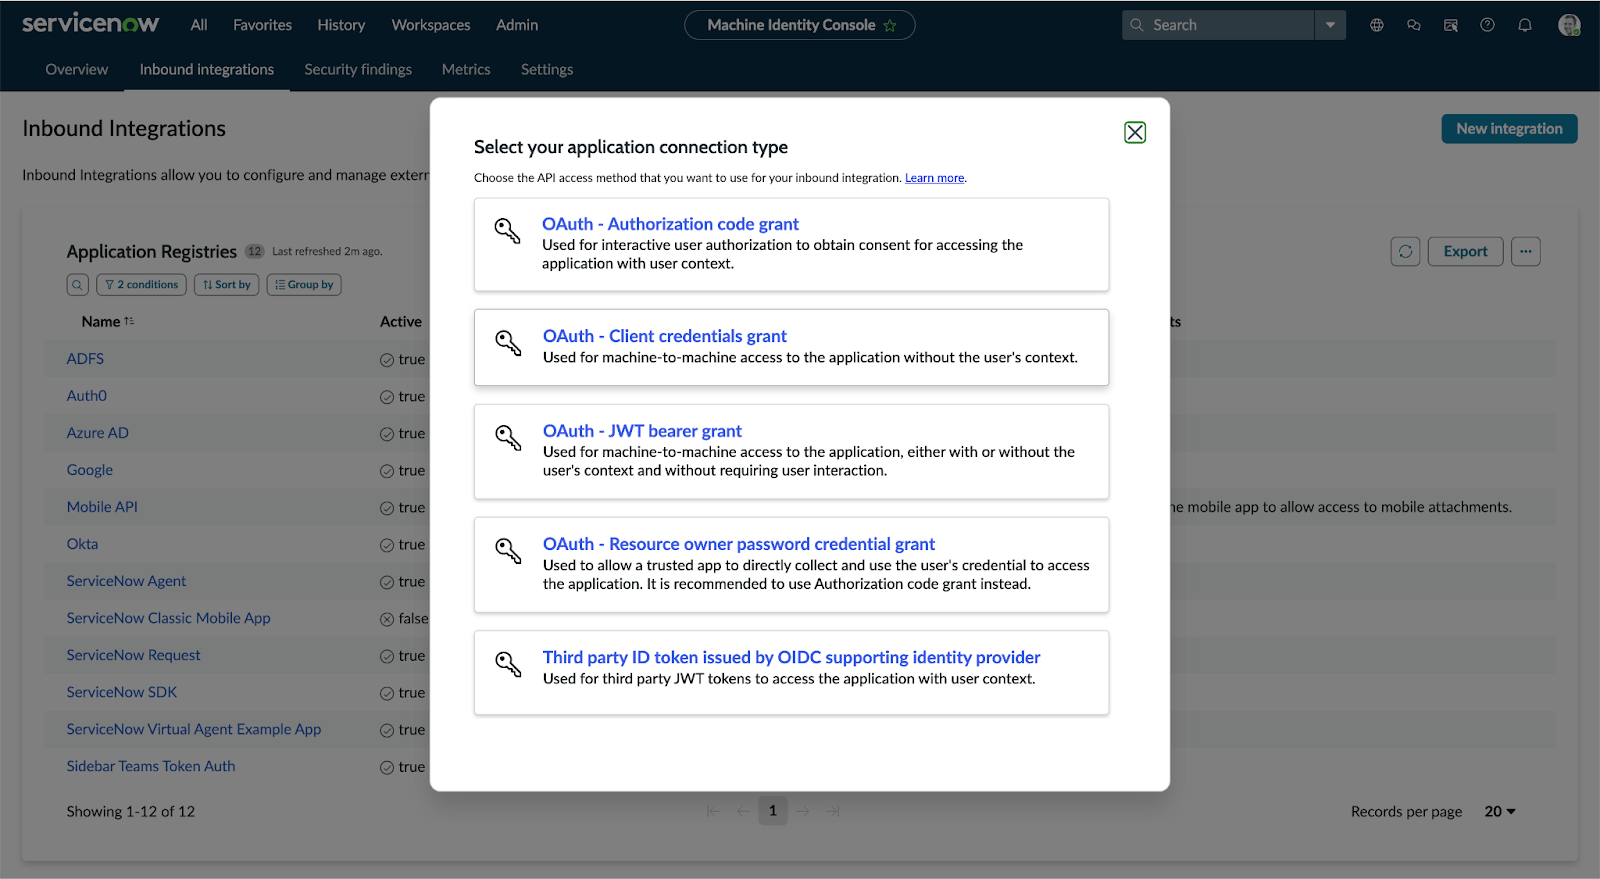
- Click New integration
- Pick OAuth - Client credentials grant
- Choose an application user role that has access these tables:
cmdb_rel_cicmdb_ci_*
- Copy both Client ID and Client Secret to use in the next step
If your ServiceNow instance restricts inbound traffic by IP (System Security > IP Address Access Control), add an allow rule for
3.16.200.209/32 so ResolveAI’s cloud can reach your instance. This is only required when connecting from the ResolveAI cloud — Satellite-based connections originate from your own infrastructure.2. In ResolveAI, connect the integration
Option A: From the Resolve App
- Log in to ResolveAI and open the ServiceNow integration page.
- Name the integration, ex
Production ServiceNow - Pick environments that ResolveAI will connect to, for example
productionandstaging - Client ID paste in from ServiceNow
- Client Secret paste in from ServiceNow
Option B: Setup from the Satellite
Create a Kubernetes Secret to hold your ServiceNow Inbound Integration’s Client ID and Client Secret.resolve-values.yaml file.
resolve-values.yaml file.
Troubleshooting
Older ServiceNow versions (Yokohama and earlier)
If you don’t see OAuth - Client credentials grant as an option when creating the integration, or the connection fails after setup, the following ServiceNow-side settings may need to be configured. These are typically pre-configured on newer instances but have been seen to be missing on Yokohama and earlier versions.Enable the Client Credentials grant type
The Client Credentials inbound OAuth flow is gated by a system property that may not be set by default.- In ServiceNow, navigate to System Properties > All Properties and click New
- Fill in the form:
- Name:
glide.oauth.inbound.client.credential.grant_type.enabled - Type:
true | false - Value:
true
- Name:
- Click Save
Add the OAuth Application User field to the form
The OAuth Application User field is hidden from the OAuth Application Registry form by default and must be added before you can assign the application user that ResolveAI will authenticate as.- Open the Application Registry record for ResolveAI
- From the context menu (≡), choose Configure > Form Layout
- Move OAuth Application User into the Selected column and save
- Back on the record, set OAuth Application User to the user whose role grants the required
cmdb_rel_ciandcmdb_ci_*table access