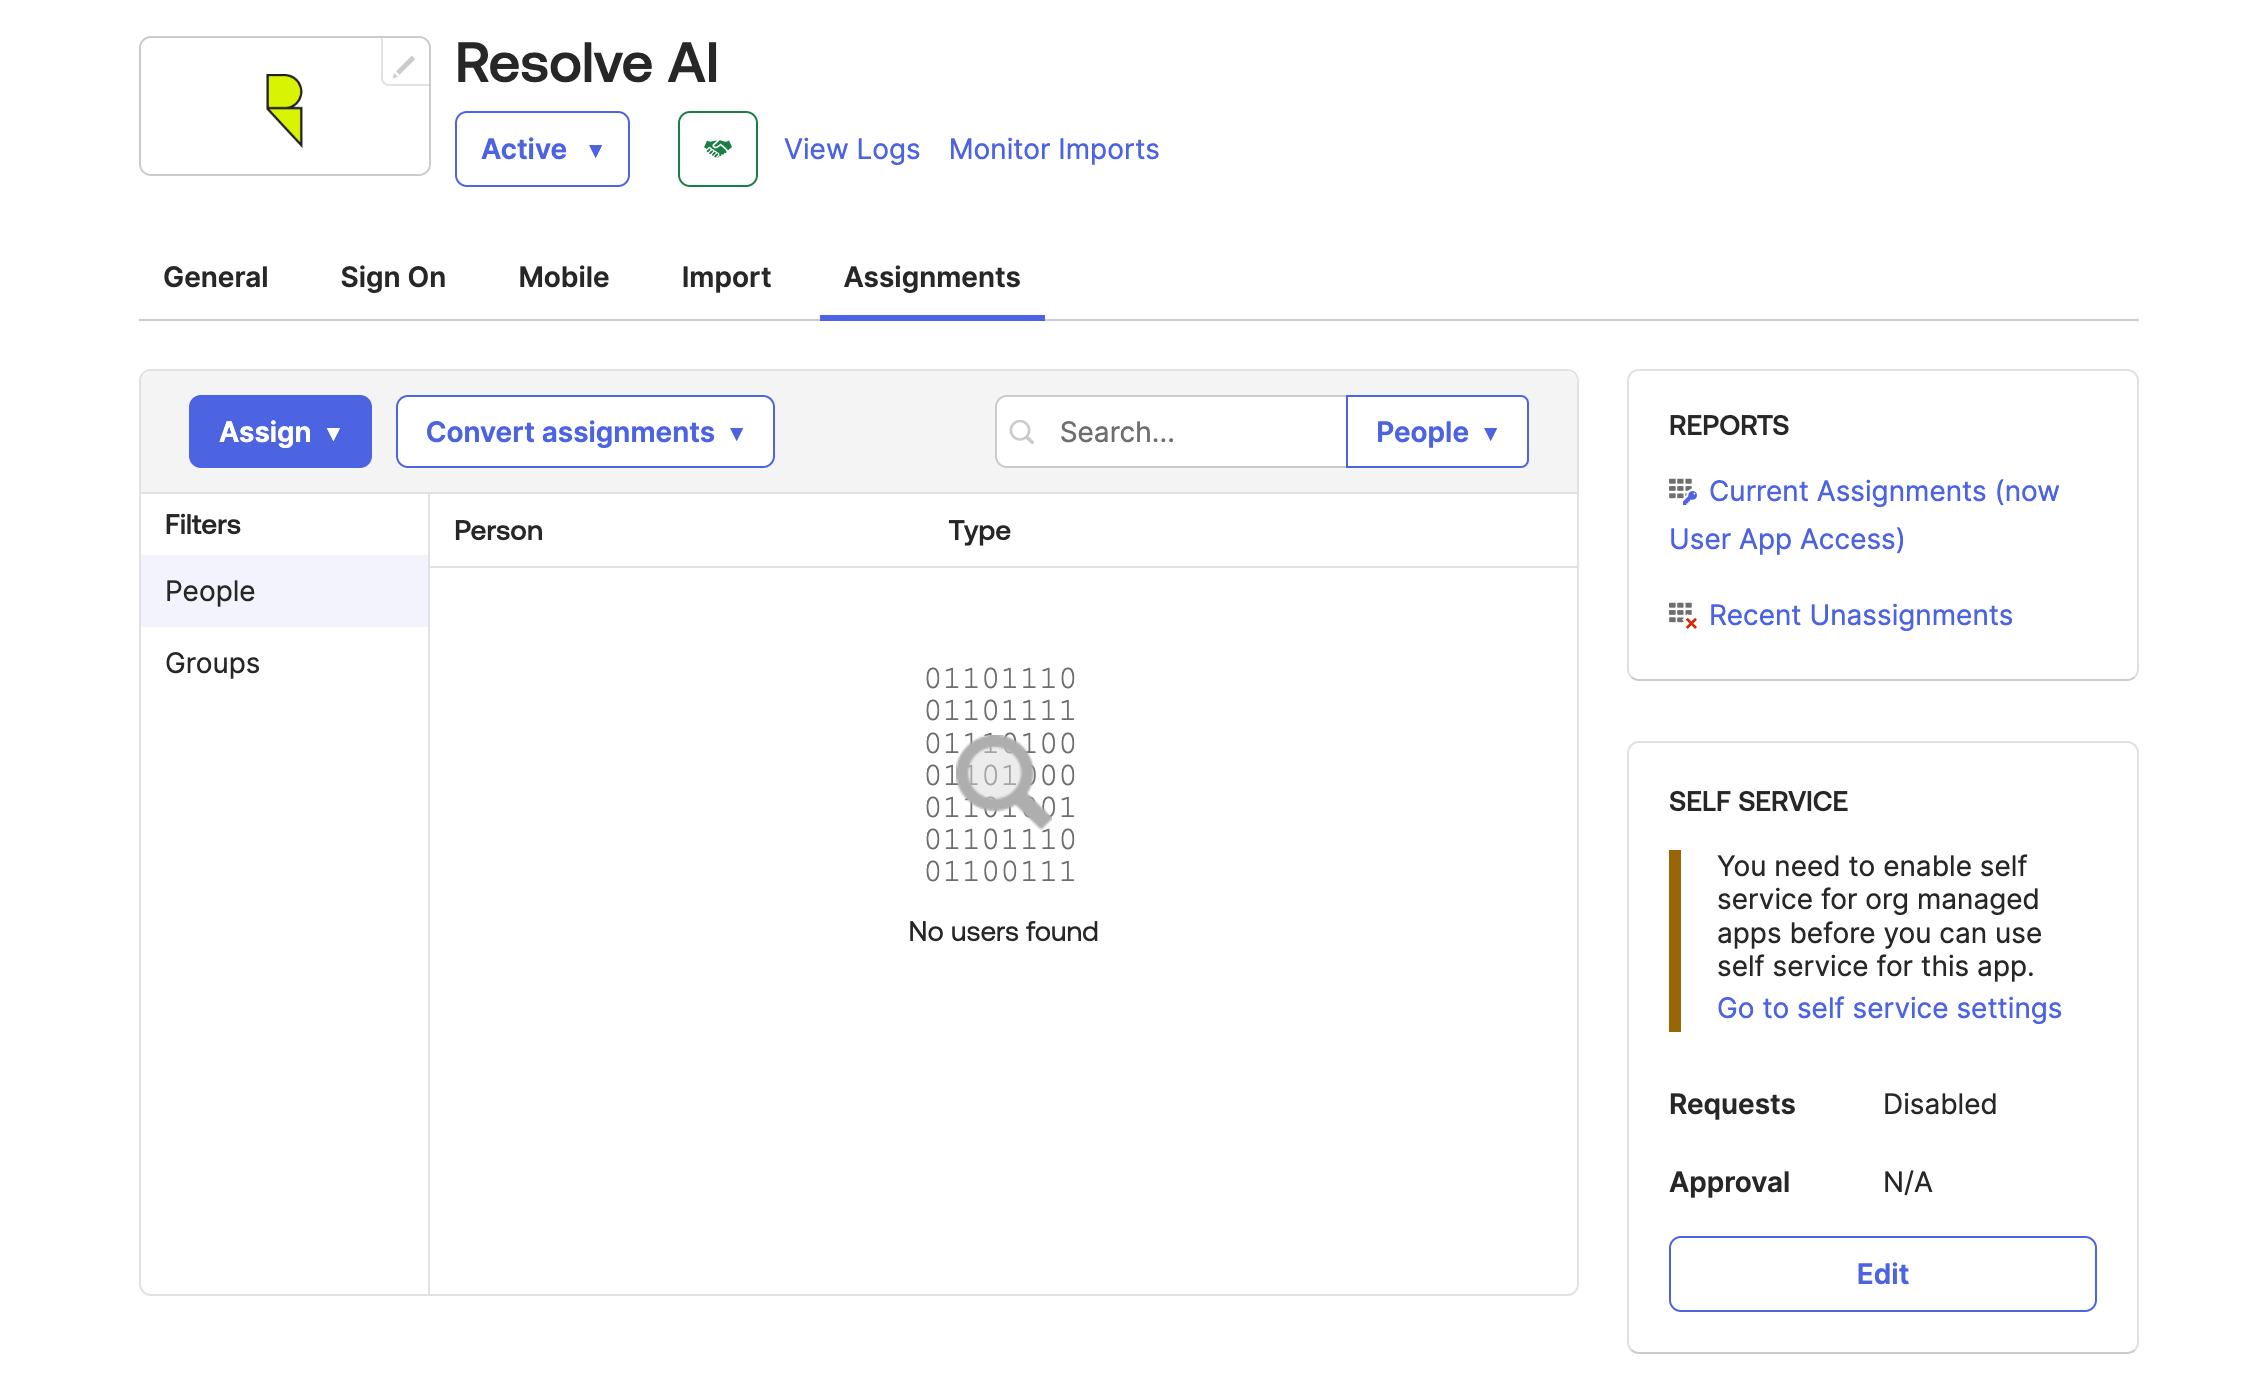
This setup must be completed by an Okta Administrator.
Features & Requirements
ResolveAI supports SAML 2.0-based SSO with Okta, including:- Just-In-Time (JIT) User Provisioning: User accounts are created on first login
- Group-based access control via SAML attributes (optional)
1. Create a SAML App
- Log in to your Okta Admin Dashboard (ex.
yourcompany.okta.com) - Go to Applications -> Applications
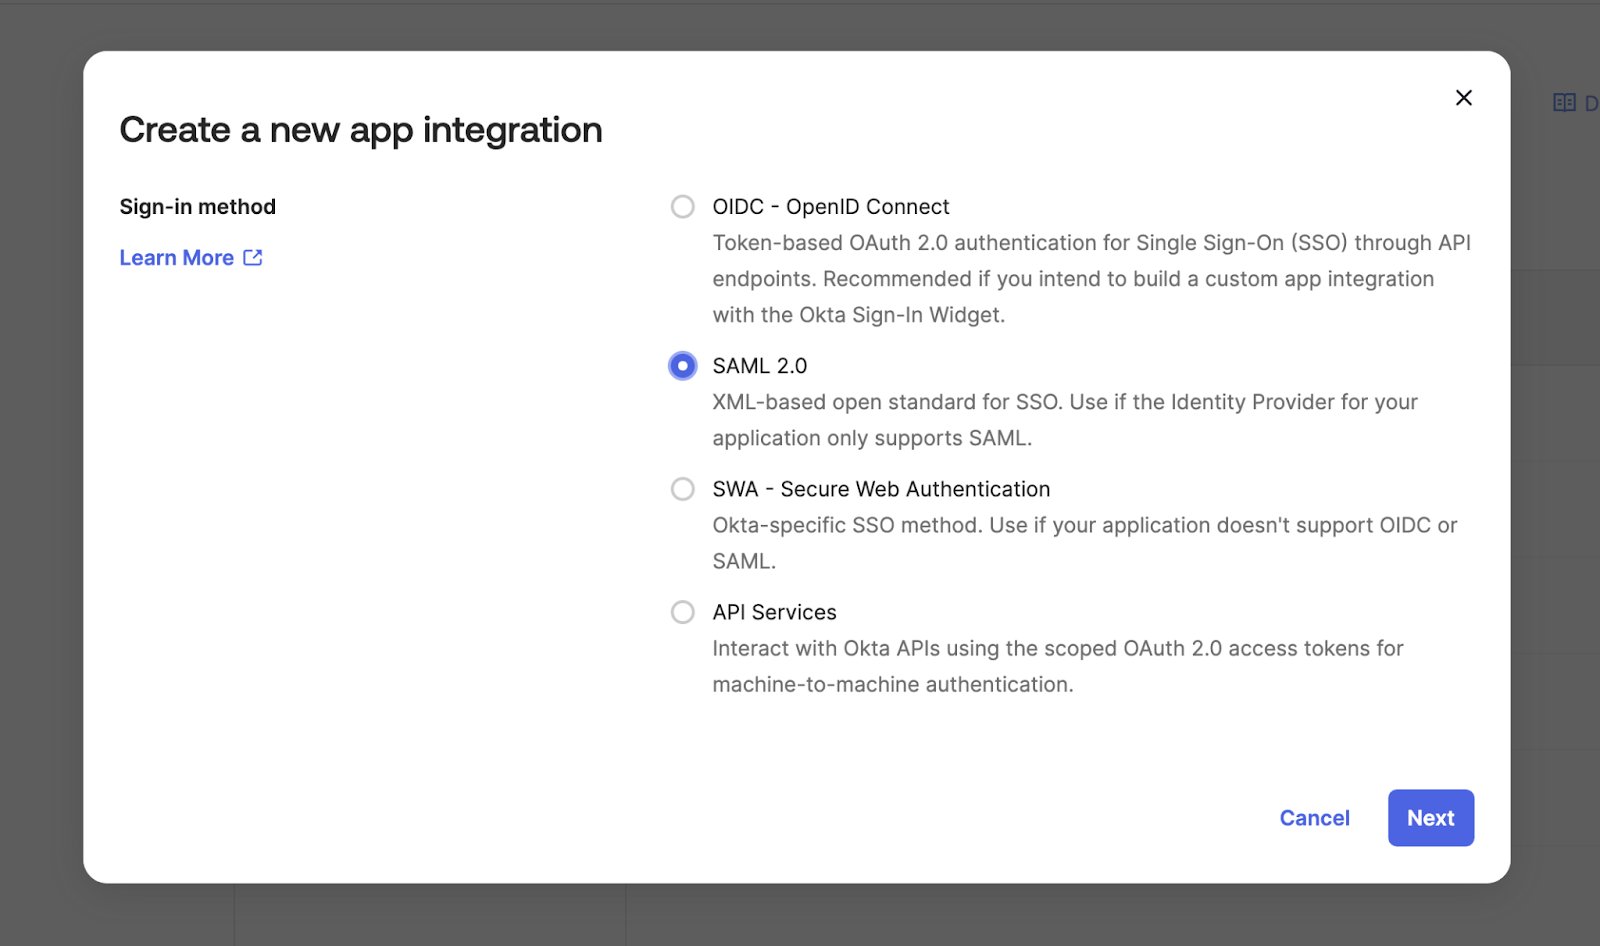
- Click Create App Integration
- Select SAML 2.0 as the sign-on method and click Next
2. Configure App Details
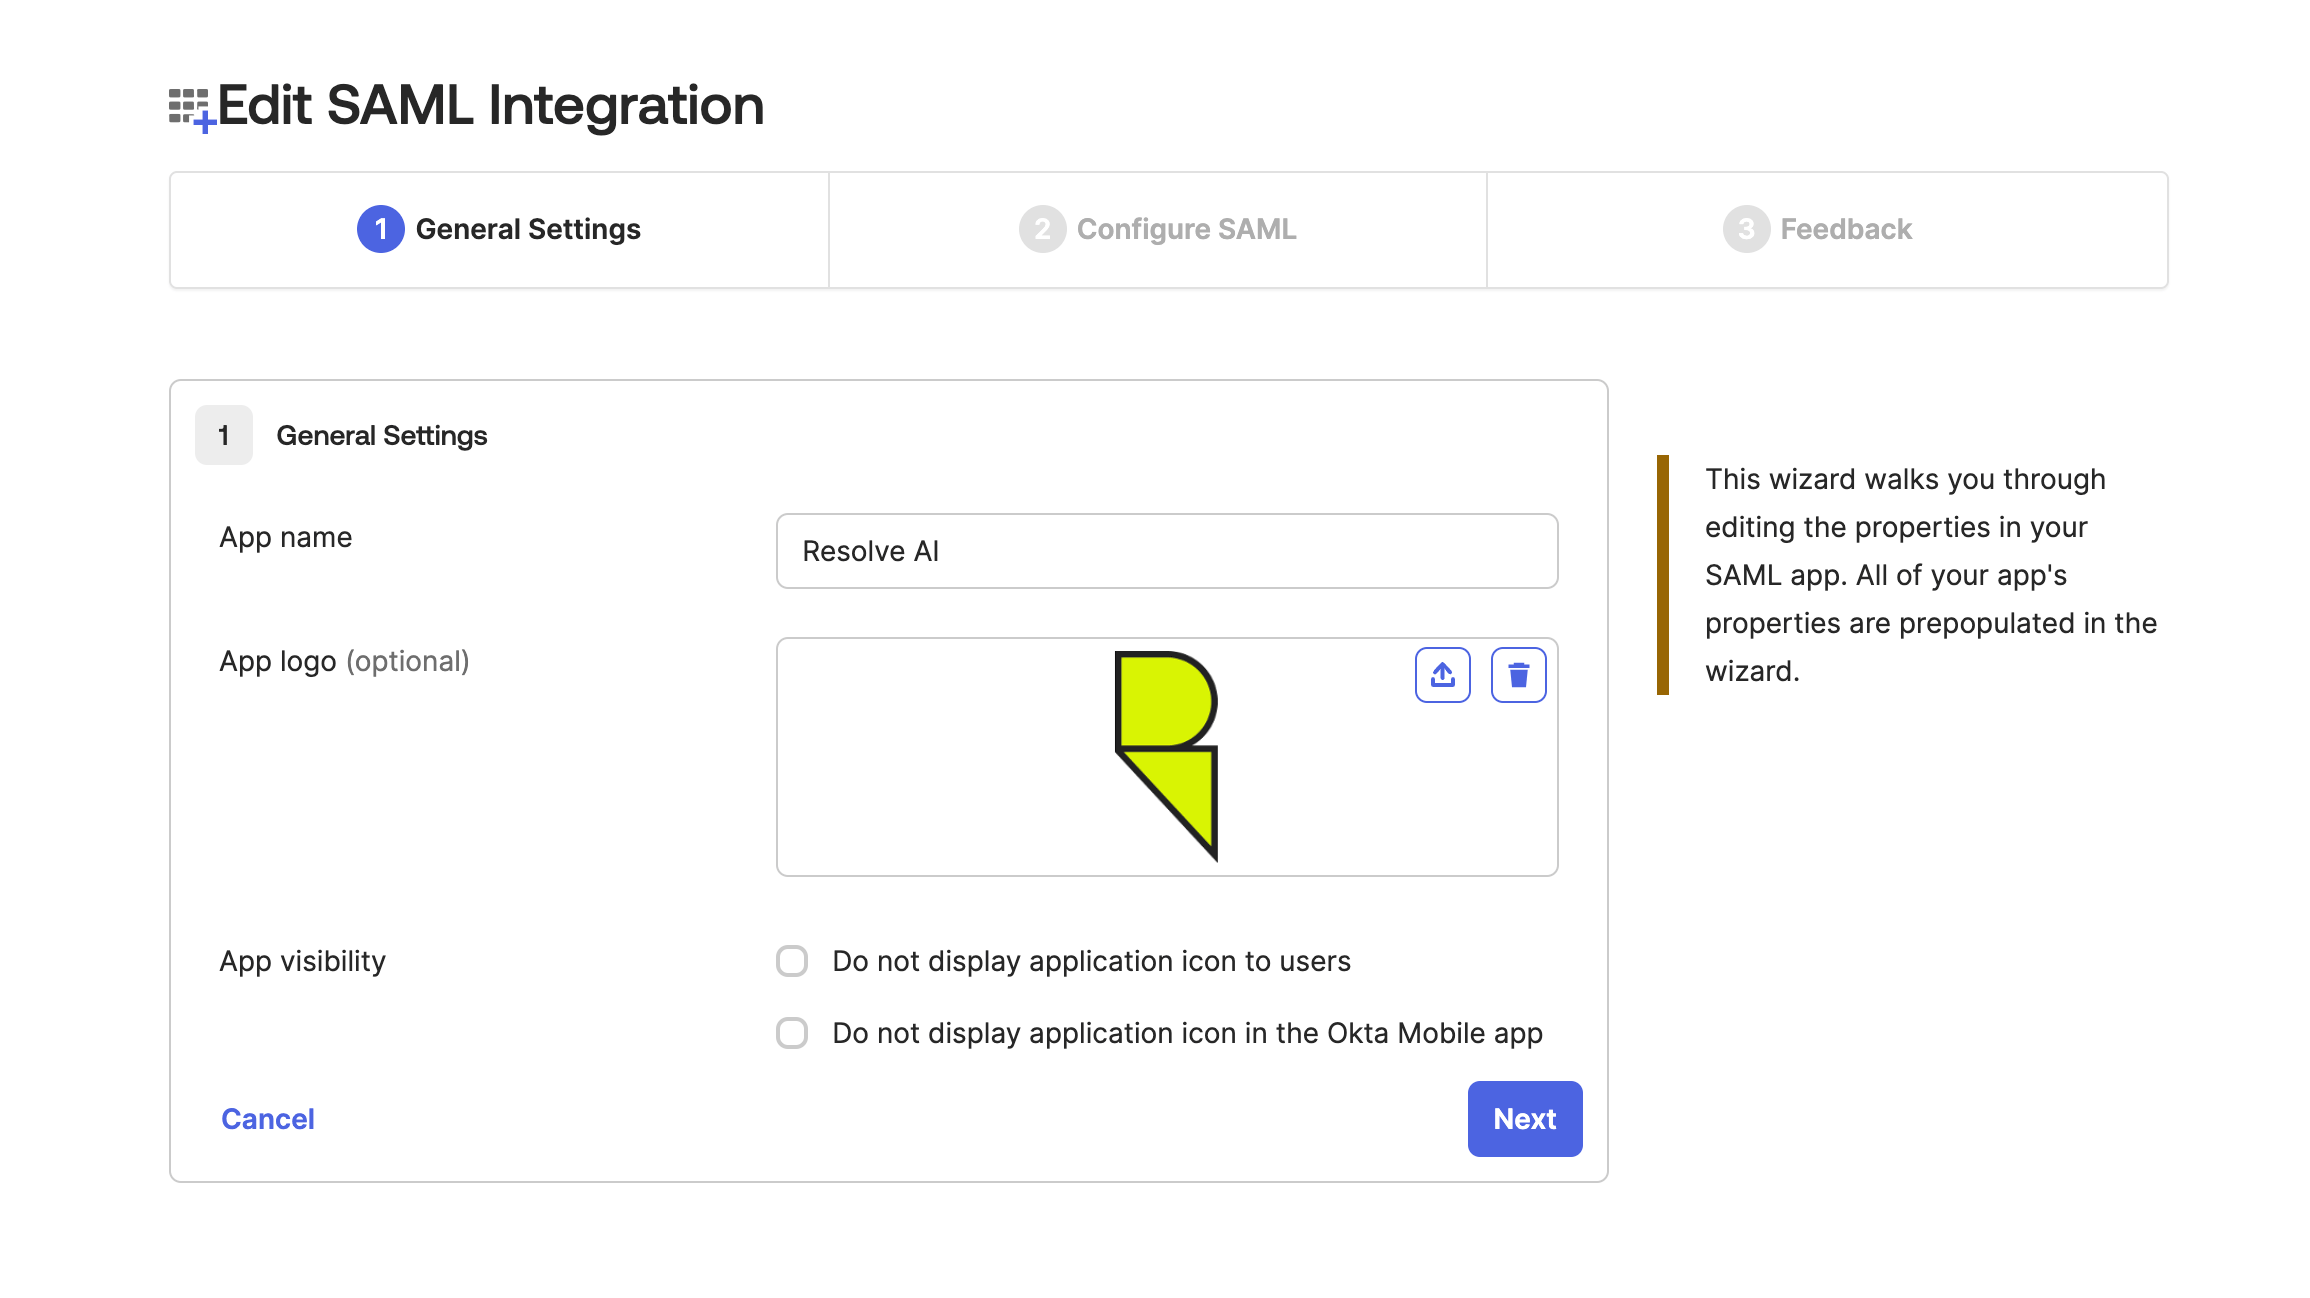
- App Name: ResolveAI
- Download the ResolveAI logo and add it in App logo
- Click Next to continue

3. Configure SAML Settings
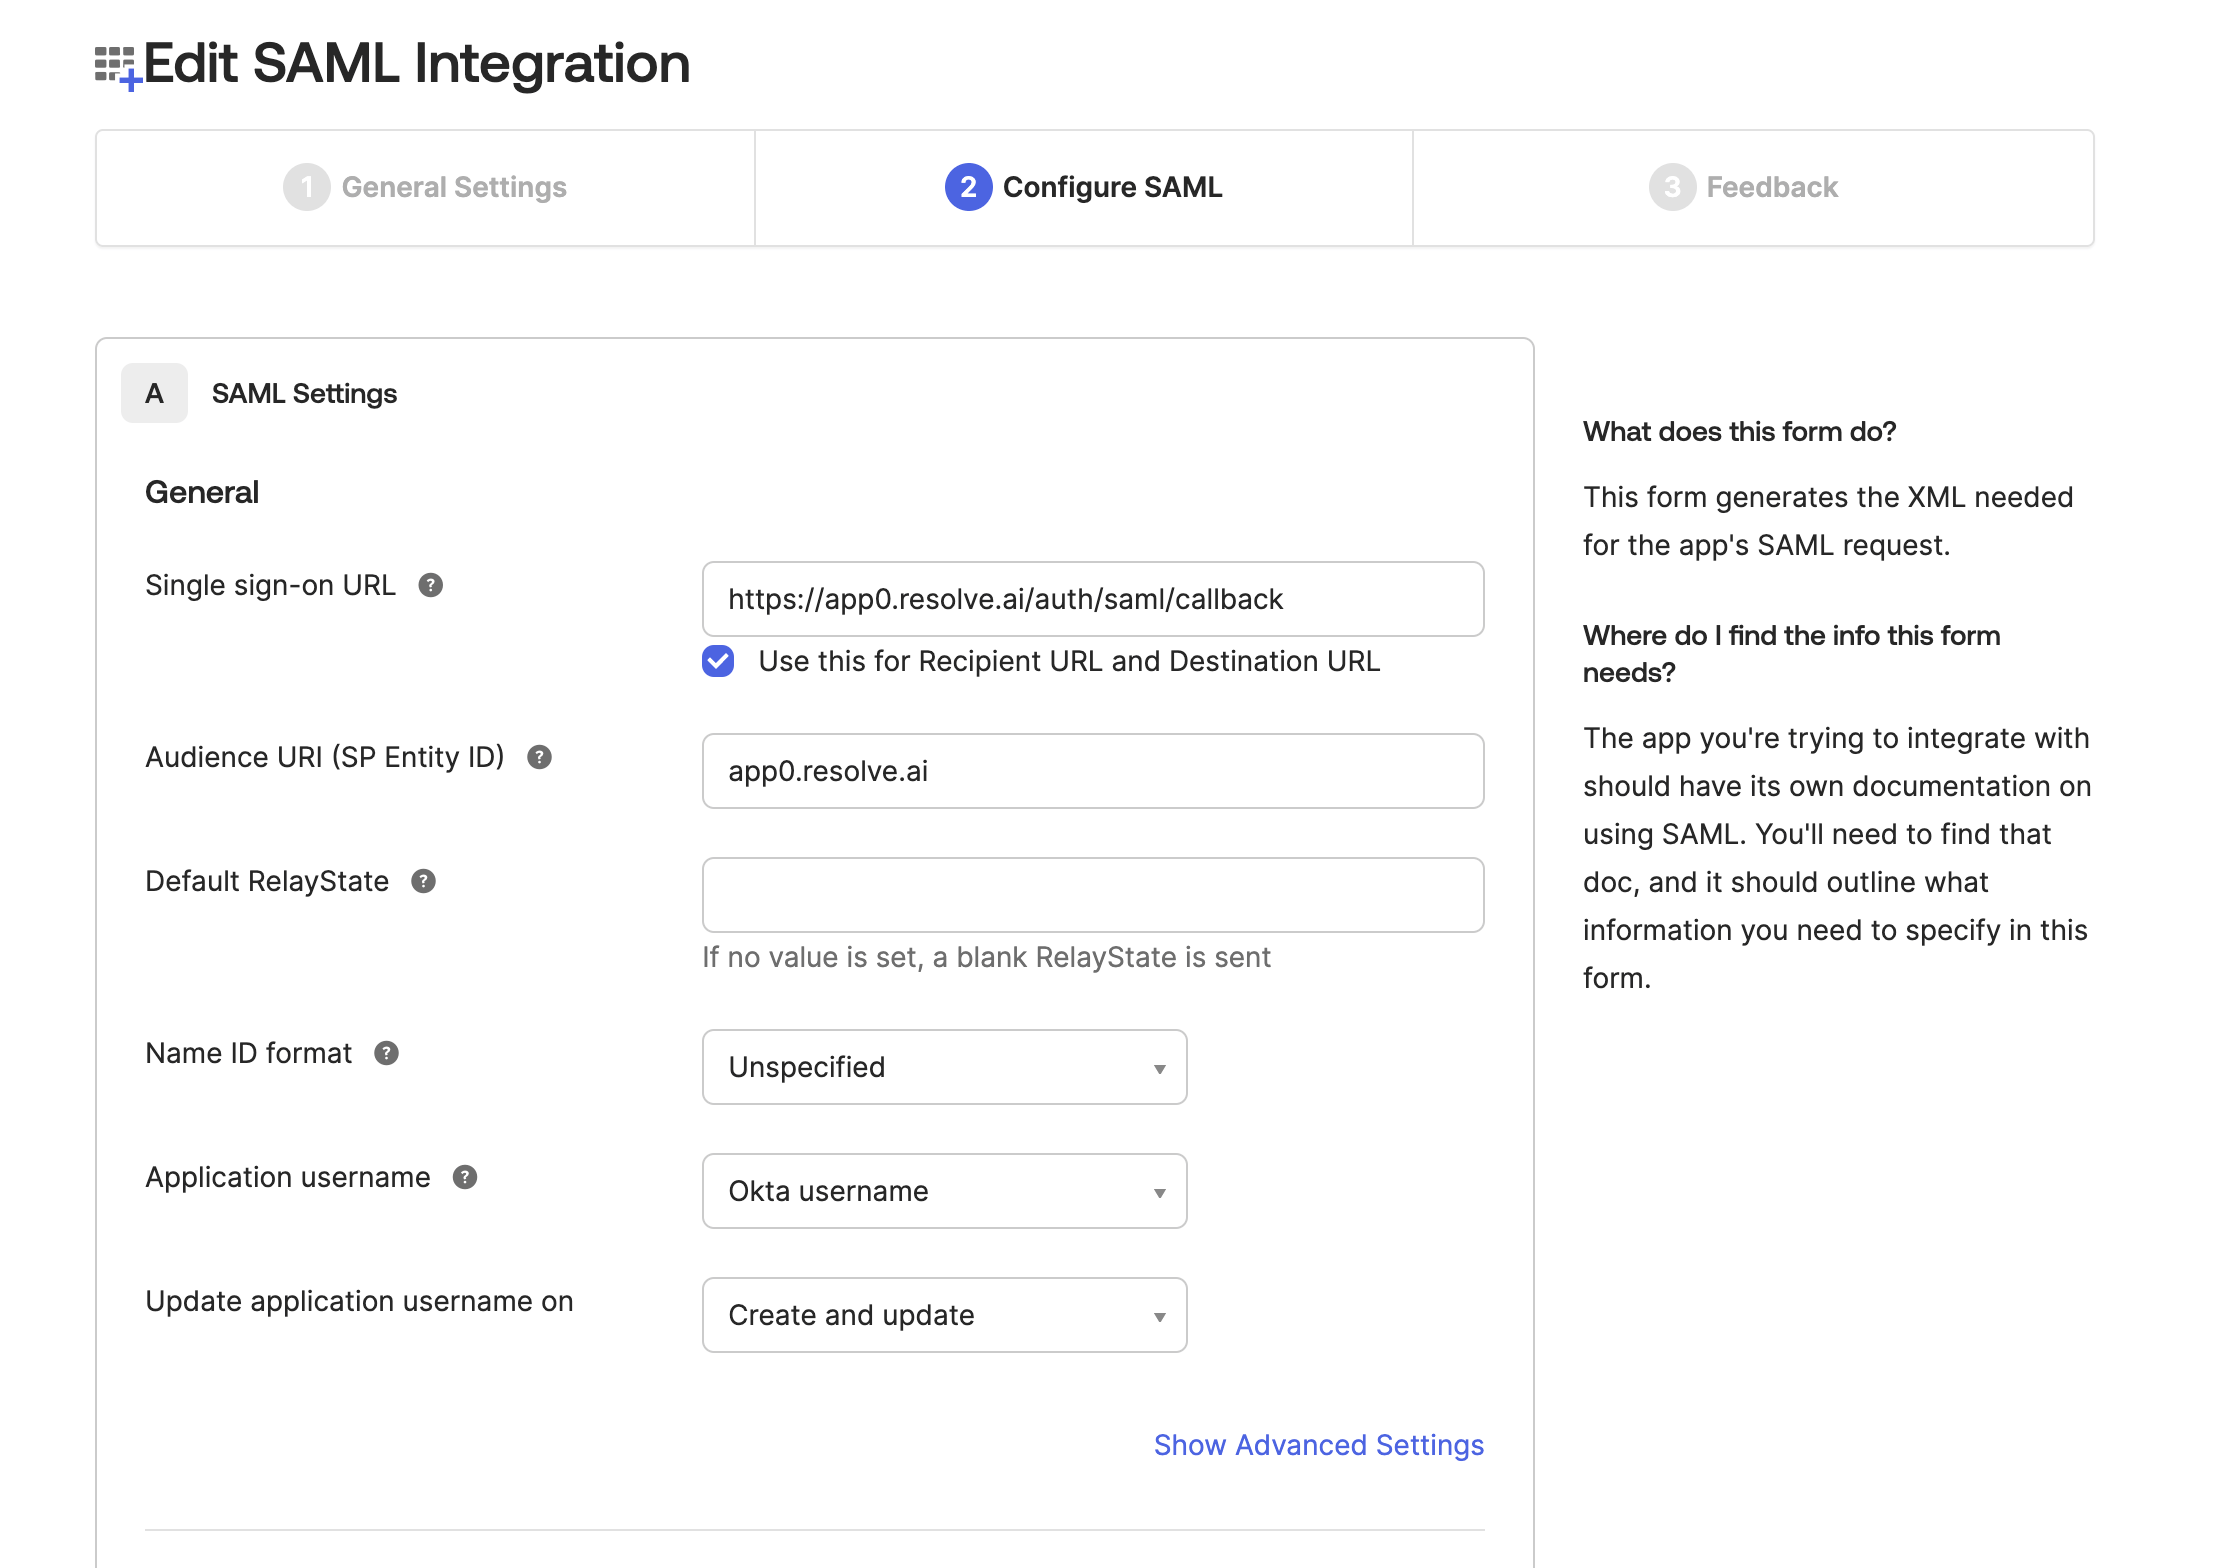
- Single sign-on URL:
https://app0.resolve.ai/auth/saml/callback - Audience URI (SP Entity ID):
app0.resolve.ai(copy exactly — no scheme, no trailing slash, no path, no fragment) - Default RelayState: leave blank
- Name ID format:
Unspecified - Application username:
Okta username— this value must be the user’s primary email address. Okta username is usually the same as the user’s email; if your organization’s Okta usernames are not email addresses, selectuser.emailinstead.
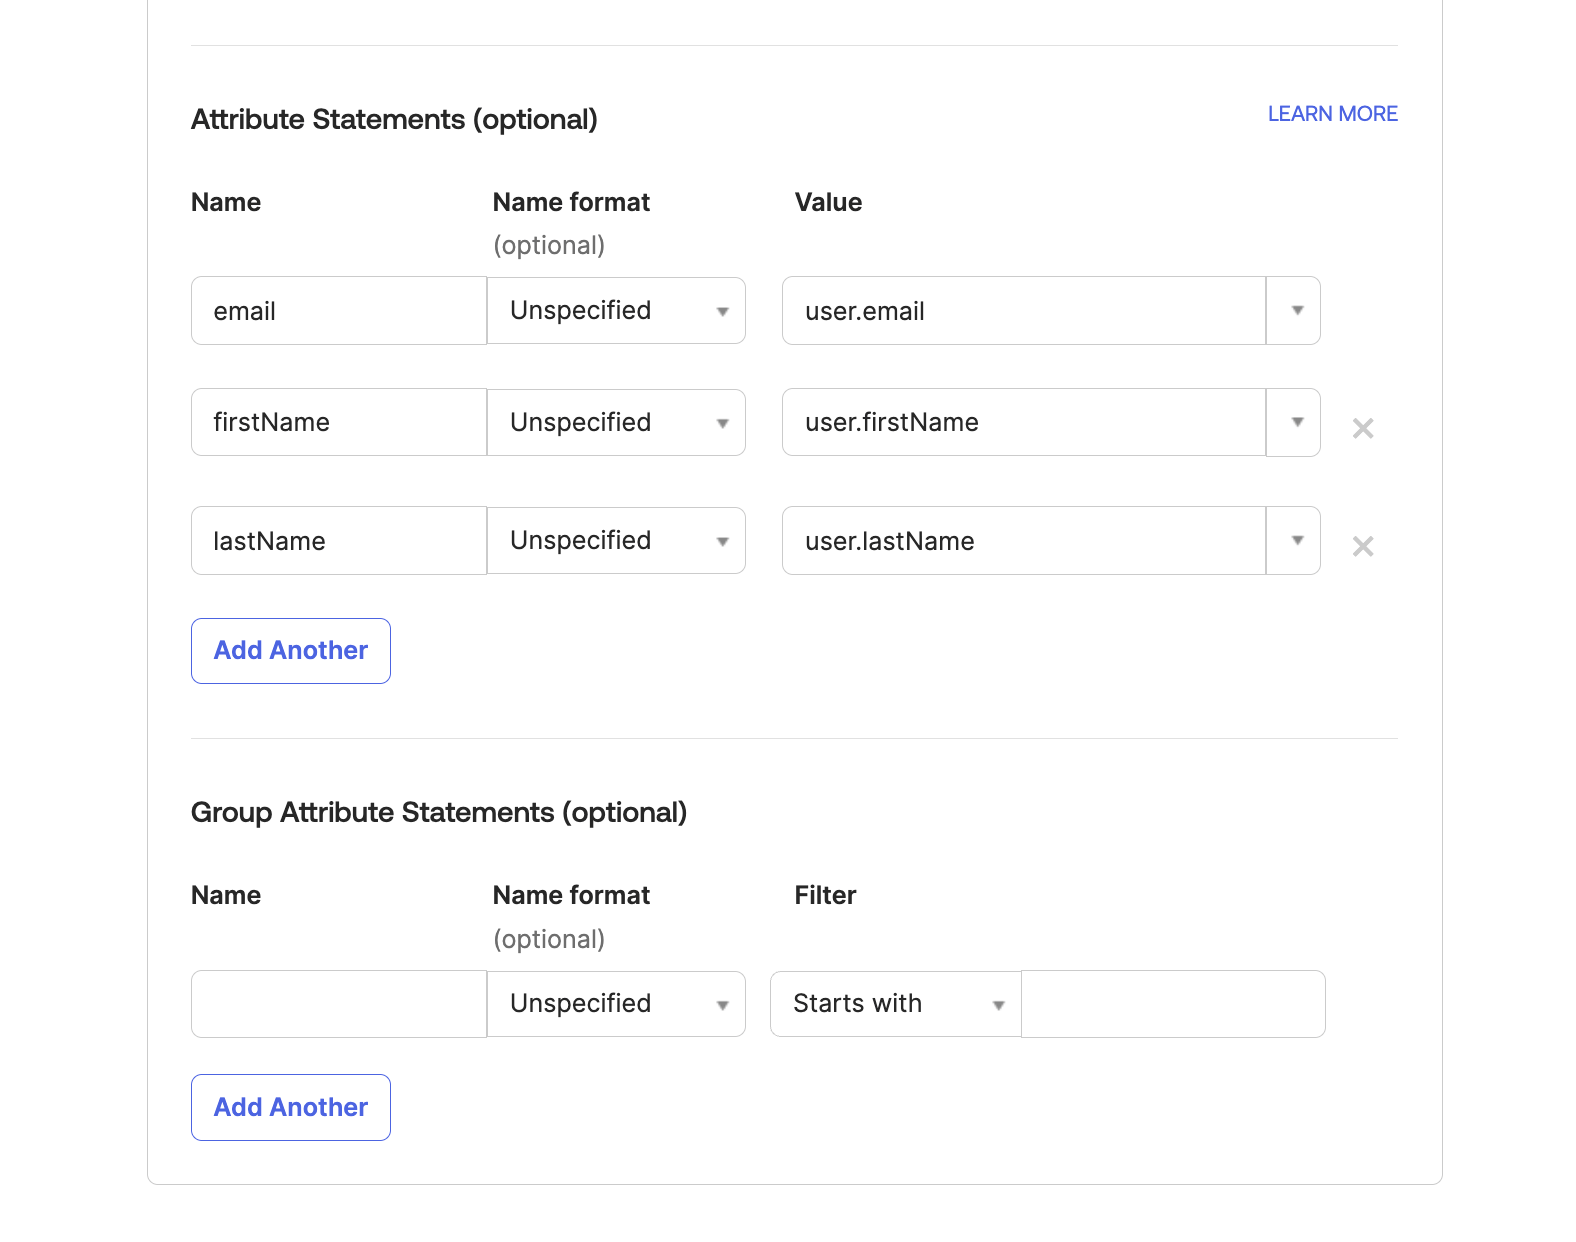
4. Add Attribute Statements
Map the following attributes (names are case-sensitive):email:user.emailfirstName:user.firstNamelastName:user.lastName
5. Contact ResolveAI
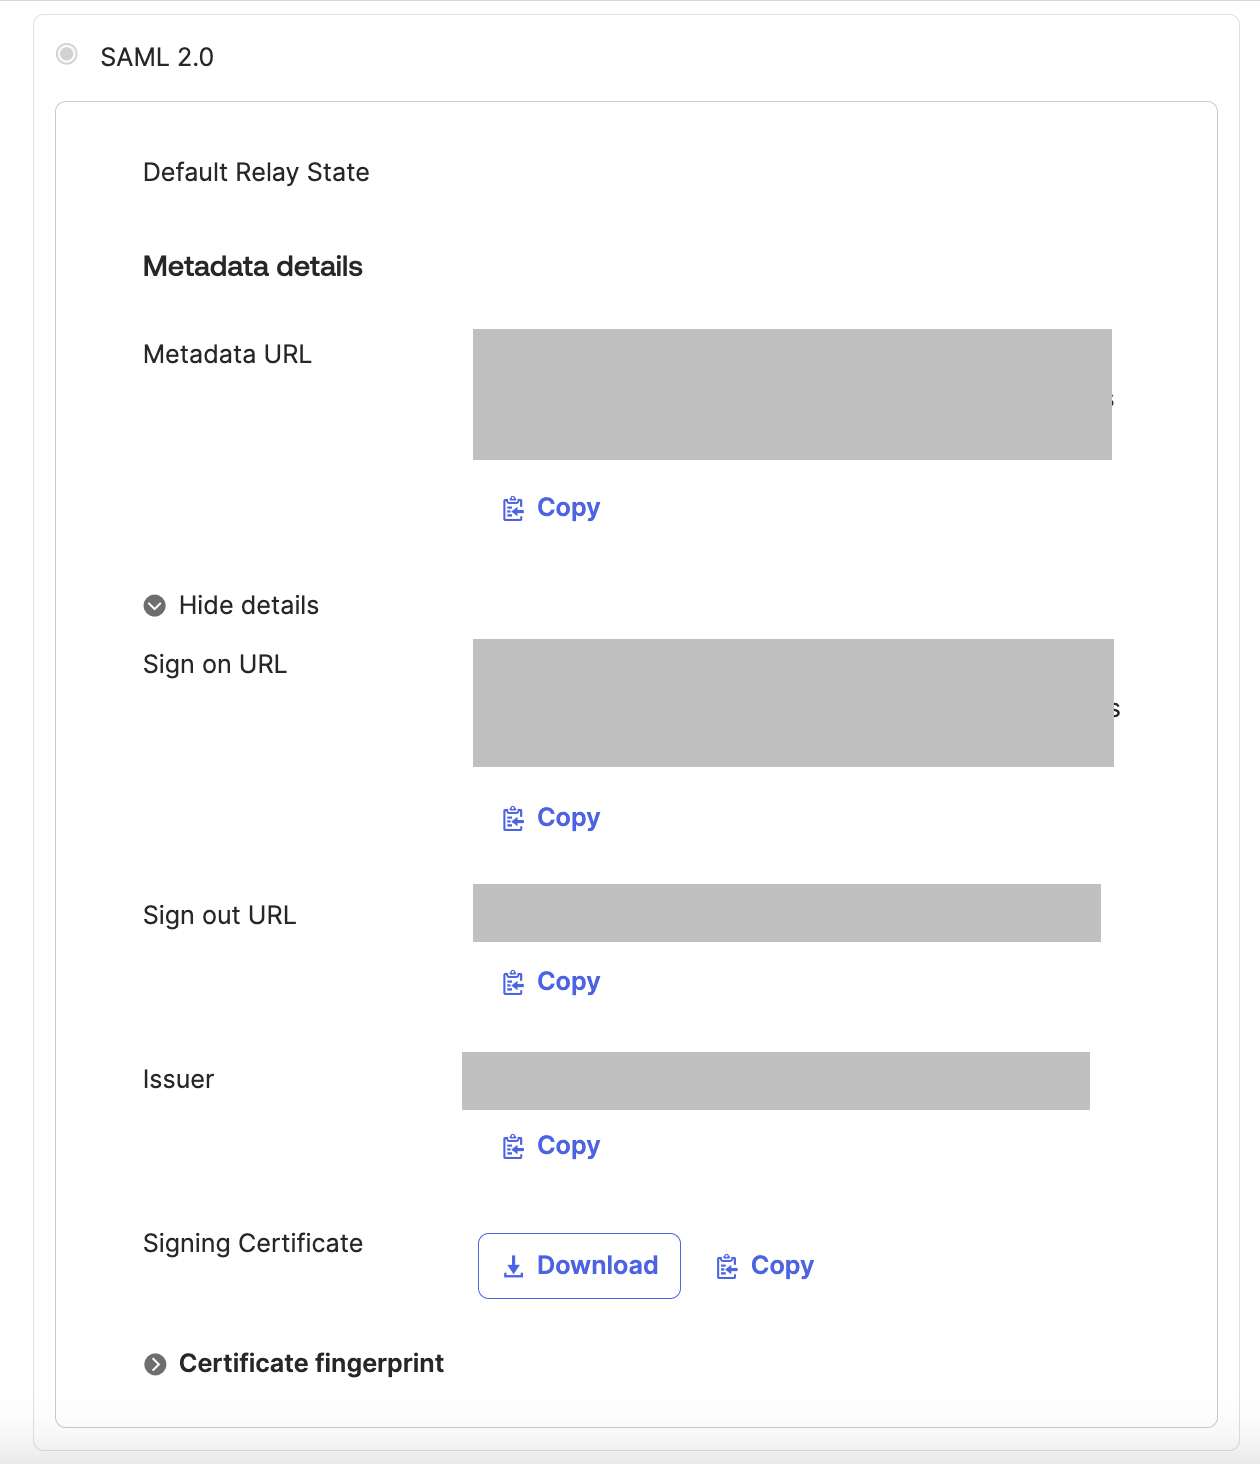
In the Sign On tab, click View Setup Instructions and copy the following details:- Sign on URL
- Sign out URL
- Issuer (Entity ID)
- Signing certificate
6. Test the login
Once your Resolve contact confirms the connection, test before rolling out to users: Resolve AI supports both sign-in paths.- Save the Okta app configuration.
- Assign a test user to the app.
- In an incognito or private browser window, sign in to app0.resolve.ai as the assigned test user.
- Confirm the user reaches Resolve AI.
- As the assigned test user, also click the Resolve AI tile in your Okta dashboard (IdP-initiated login) and confirm it reaches Resolve AI. Test both if your users will sign in from the Okta dashboard.
Troubleshooting
Symptom: login fails even though the SAML fields look correct. Capture the SAML request from the browser (steps below) and compare the ACS and metadata URL it carries against the values in this guide. If you cannot read the encoded request, send it to your Resolve contact and we will decode it. A mismatch means the wrong Okta application or vendor configuration is in play — most often, the admin is editing a different vendor’s app or a different Okta instance. To capture the SAML request:- Open your browser’s developer tools and go to the Network tab.
- Enable Preserve log and Disable cache.
- Retry the login.
- Find the
SAMLrequest in the network log and capture the full request URL. Share it with your Resolve contact.
The Okta System Log can lag. A missing log entry is not proof the login attempt didn’t happen — wait a few minutes and refresh before concluding an event is missing.
Optional: Group Attribute Mapping for RBAC
If you’re using Okta groups to control Resolve roles:- In the Group Attribute Statements section:
- Name:
groups - Filter: define which groups to include (ex.
resolve-admins)
- Name:
- Contact Resolve to map group names to roles (ex. Admin, Member)